Few things satisfy like crispy baked chicken wings, especially when they’re hot out of the oven, coated in your favorite sauce, and shatteringly crisp on the outside. That perfect bite is what every wing lover craves. But too often, oven-baked wings come out with soggy, rubbery skin that ruins the whole experience, no matter how juicy the meat is underneath.
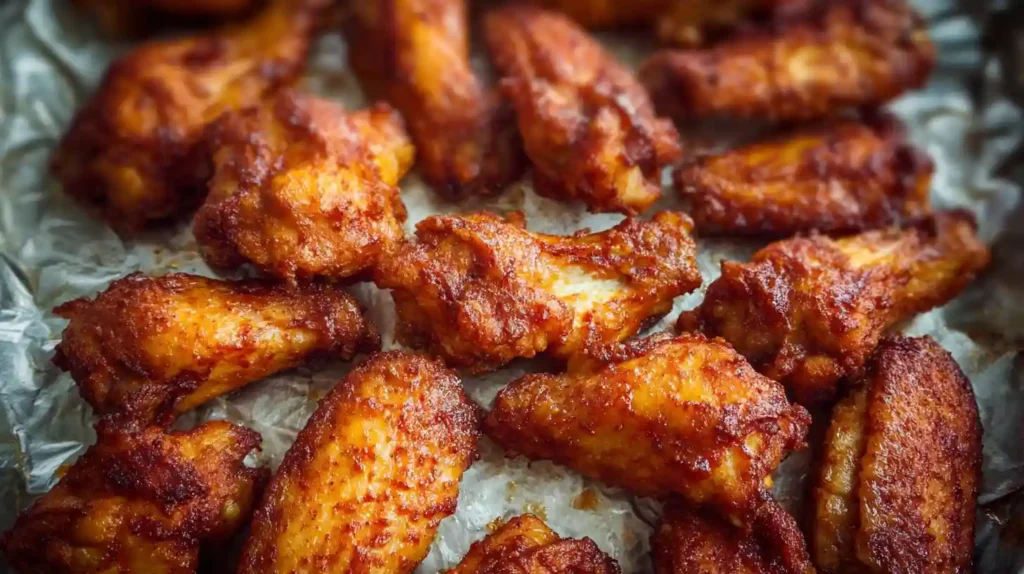
While deep frying delivers reliable crunch, it’s messy, greasy, and far from ideal when you’re cooking for a crowd or trying to keep things lighter. That’s why, especially on game days like Super Bowl Sunday, more and more people are turning to the oven for a healthier way to get the texture they love.
This recipe is the answer. These crispy baked chicken wings are simple, satisfying, and built to impress, whether you’re hosting a tailgate party or just winging it on a weeknight.
Table of contents
- Ingredients You’ll Need for Crispy Baked Chicken Wings
- Why Baking Powder Makes Crispy Baked Chicken Wings So Crunchy
- Chill Time Tips for Extra Crispy Baked Chicken Wings
- How to Bake Crispy Chicken Wings in the Oven (Step-by-Step)
- Pro Tips and Flavor Upgrades for Crispy Baked Chicken Wings
- How to Store and Reheat Crispy Baked Chicken Wings
- FAQs
Ingredients You’ll Need for Crispy Baked Chicken Wings
Before you even preheat the oven, make sure you’ve got everything on this short (but mighty) list. The beauty here? No flour, no oil, no frying, just smart prep and pantry staples doing the heavy lifting.
Main Ingredients
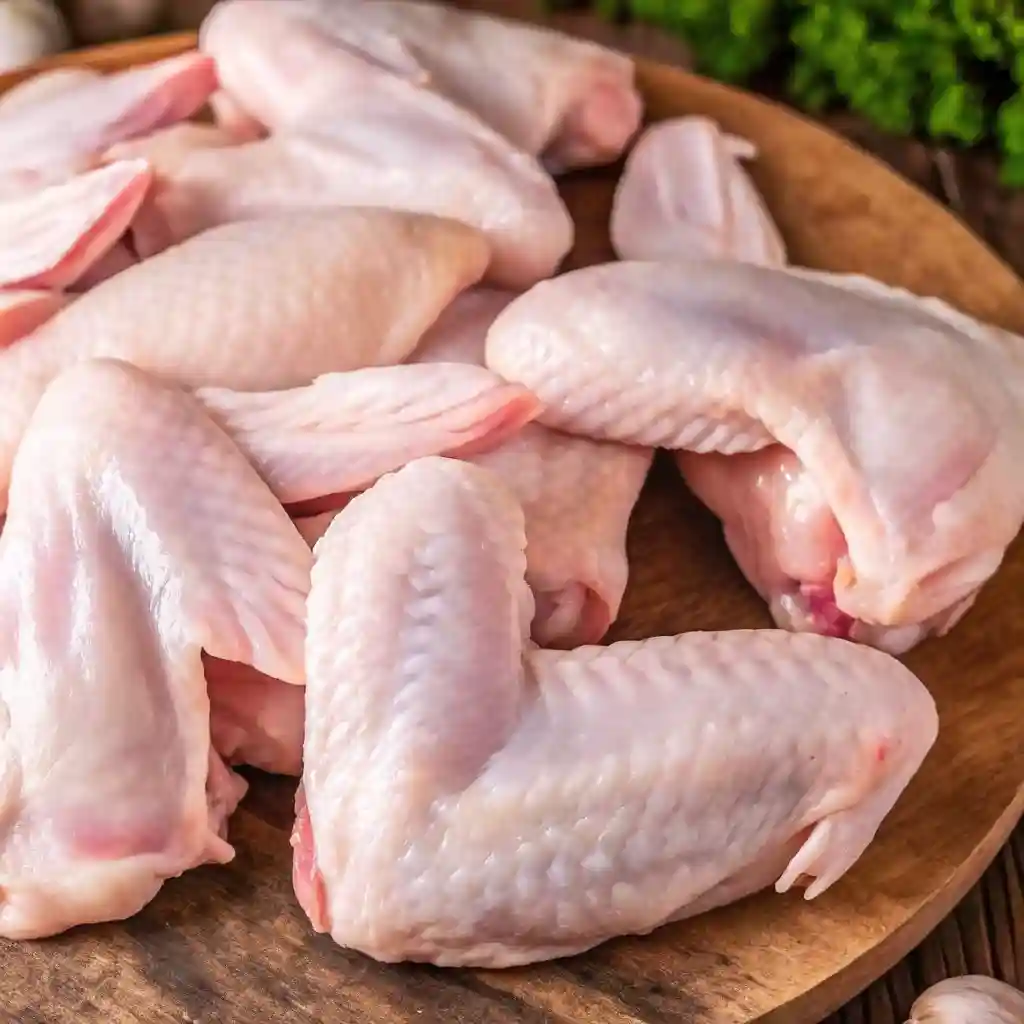
- 2–3 pounds chicken wings (split at the joint, tips removed)
- 1 tablespoon aluminum-free baking powder
(Yes, baking powder, not baking soda. This is your crispiness secret weapon.) - ¾ teaspoon kosher salt
- ½ teaspoon black pepper
- 1 teaspoon garlic powder
- 1 teaspoon smoked paprika (or sweet paprika)
- ½ teaspoon onion powder (optional but adds savory depth)
Optional but Recommended
- Hot sauce or BBQ sauce (for tossing post-bake)
- Cooking spray (to lightly mist your rack or foil)
- Fresh herbs or green onion (for garnish)
Ingredient Notes
- Baking Powder: Make sure it’s aluminum-free. Regular versions can leave a bitter, metallic taste, especially if you’re going light on sauce.
- Chicken Wings: Fresh or thawed from frozen. If frozen, pat them dry after thawing to remove moisture.
- Spice Mix Variations: Want more heat? Add cayenne. Love smoky flavors? Try chipotle powder.
What if I don’t have aluminum-free baking powder?
You can use regular baking powder, but you risk an aftertaste. To be safe, look for brands like Rumford or Bob’s Red Mill, which label aluminum-free clearly.
Why Baking Powder Makes Crispy Baked Chicken Wings So Crunchy
It sounds weird, right? You’re baking chicken wings, not a cake. But that little spoonful of aluminum-free baking powder is doing more than you think. It’s not about puffing them up, it’s about breaking them down, just enough to make magic happen.
The Science Behind Crispy Baked Chicken Wings
When you coat wings in baking powder, it does two key things:
- Raises the pH of the skin — making it more alkaline. That promotes browning through something called the Maillard reaction. (Basically: golden skin = flavor.)
- Draws out surface moisture — helping dry the skin faster in the oven, which is the exact condition you need for serious crispiness.
It’s like giving your wings a mini chemical facial. And unlike oil frying, there’s no splatter, no cleanup headache, and you’re still getting the kind of crunch you hear in commercials.
If you’re looking for a different take on crispy oven techniques, check out our crispy oven-braised chicken recipe, a juicy, golden-skinned twist that’s just as comforting.
Baking Powder vs Baking Soda for Oven-Baked Wings
Don’t confuse the two; they’re not interchangeable here. Baking soda is stronger (too strong, actually) and can give your wings a soapy, bitter taste. Baking powder is milder and blended with starch to keep it stable. That starch? It’s part of what helps dry out the wing’s surface.
Can I skip the baking powder?
Technically yes, but you’ll lose that next-level crispiness. If you absolutely must skip it, dry the wings very well and let them air-dry longer in the fridge. They’ll still be good, but not “whoa” good.
Chill Time Tips for Extra Crispy Baked Chicken Wings
Here’s where most people get impatient, and it’s the reason their wings never get truly crispy. Drying your wings in the fridge before baking is the move. It’s not optional if you want that audible crunch.
Why Chill Time Matters
After seasoning your wings, spreading them out on a rack and letting them rest uncovered in the fridge does two amazing things:
- It dries the skin even more than just patting it with paper towels.
- It lets the baking powder work its magic, breaking down the skin surface slightly to set up a better bake.
Think of it like marinating for texture, not flavor.
Give them at least 30 minutes, but if you’ve got the time, up to 4 hours is ideal. Overnight? Even better. The longer they chill, the drier the skin becomes—and dry skin equals crispy skin.
What if I’m in a rush?
If you’re short on time, skip the fridge but double down on blotting each wing with paper towels until no moisture remains. It’s not quite the same, but it’ll still help you avoid soggy sadness.
Can I dry wings on a plate instead of a rack?
If you don’t have a wire rack, place them on a paper towel-lined tray and rotate them halfway through chilling. The rack just makes it easier for air to circulate, but it’s not a dealbreaker.
How to Bake Crispy Chicken Wings in the Oven (Step-by-Step)
This is where you trade soggy for shatteringly crisp. The secret’s not just in the ingredients, it’s in how you handle heat, space, and time.
Setting Up Your Pan for Crispy Baked Chicken Wings
First, preheat your oven to 425°F (220°C). You want it hot enough to render fat, dry the skin, and brown everything evenly.
- Line a baking sheet with foil or parchment.
- Place a wire rack on top. This allows air to circulate under the wings, too, which is non-negotiable for even crisping.
Now, arrange your seasoned (and hopefully chilled) wings in a single layer with space between them. Don’t crowd the pan, give them room to breathe.
Bake Time and Temperature for Ultimate Crunch
- Bake for 20 minutes, then flip.
- Bake another 20–30 minutes, flipping again if needed.
- Wings are done when:
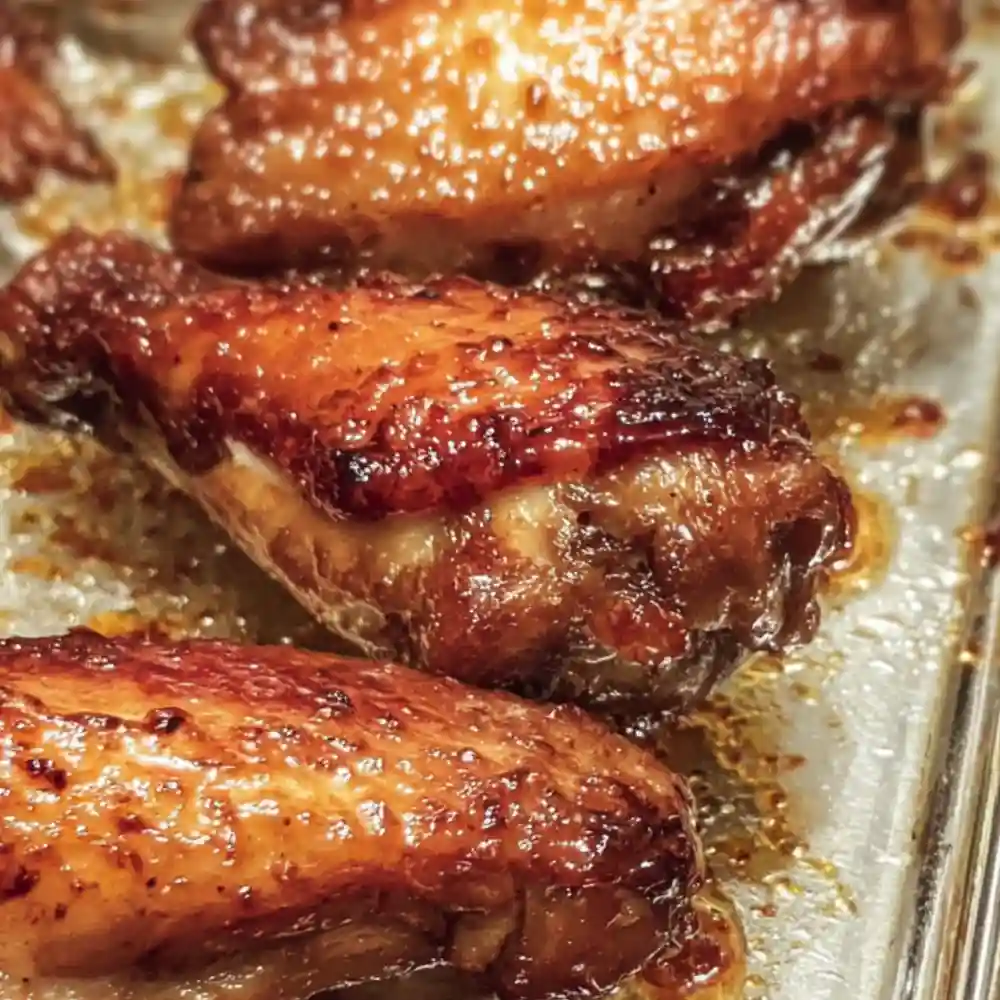
- The skin is deep golden and blistered in spots.
- Internal temp hits 180°F (yep, higher than 165°F, it’s dark meat, and that extra temp helps render fat better).
Want next-level crunch? Broil them for 1–2 minutes at the end, watching closely so they don’t burn.
Why not bake at 350°F?
Because you’ll get rubbery wings, lower temps don’t dry the skin fast enough, and you’ll miss the crisp target. Trust the 425°F process—it works.
Should I flip the wings during baking?
Absolutely. Flipping every 20 minutes helps both sides crisp evenly and avoids the dreaded soggy-bottom syndrome. If using a rack, flipping is still helpful—just not critical.
Pro Tips and Flavor Upgrades for Crispy Baked Chicken Wings
Once you’ve mastered the base technique, this is where things get personal. Wings are a blank canvas, so whether you’re craving classic Buffalo or something a little wild, this section’s your playground.
Essential Techniques for Crispy Baked Chicken Wings
- Don’t skip the rack: Elevating the wings prevents soggy undersides. No rack? Flip them more often.
- Space is flavor: Overcrowded pans = steaming, not crisping. Use two pans if needed.
- Rest before tossing in sauce: Give wings 2–3 minutes out of the oven before saucing. This locks in the crunch and prevents sogginess.
- Reheat like a pro: For leftovers, skip the microwave. Pop them in a 400°F oven for 10 minutes, or use an air fryer at 375°F for 5–6 minutes.
Bold Flavors to Try on Your Baked Wings
- Classic Buffalo: Toss with Frank’s RedHot and melted butter (2:1 ratio).
- Garlic Parmesan: Mix melted butter, minced garlic, and grated Parm. Toss and sprinkle parsley.
- Sweet Chili Crunch: Asian chili sauce + lime juice = sticky-spicy win.
- Smoky BBQ: Use dry rub pre-bake, then toss with your fave barbecue sauce post-bake.
- Lemon Pepper Zing: Sprinkle with lemon zest and cracked black pepper right out of the oven.
Can I air fry these wings instead?
Yes! Skip the baking powder and dry chill steps. Just pat wings dry, season, and air fry at 375°F for 25–30 minutes, shaking the basket halfway. You’ll get solid crispiness with less wait—but honestly, the oven method still wins on batch size.
How to Store and Reheat Crispy Baked Chicken Wings
You made a double batch (because you’re smart). Now what? Good wings don’t have to be a one-night affair. Here’s how to keep the magic alive and maybe even reinvent it.
How to Store Leftover Wings
- Let wings cool completely before storing.
- Place in an airtight container, layering with parchment or foil if stacking.
- Store in the fridge up to 4 days.
Avoid wrapping in plastic wrap; it traps moisture and undoes all your crisp-hard work.
Best Ways to Keep Chicken Wings Crispy After Cooking
To bring them back without turning them to rubber:
- Oven Method: Preheat to 400°F, spread wings on a rack or tray, heat for 10–15 minutes.
- Air Fryer: 375°F for 5–6 minutes, shake halfway.
- Stovetop (in a pinch): Toss in a hot, dry skillet for 2–3 minutes each side, lid on for steam if needed.
Skip the microwave unless you’re into wing sadness.
Leftover Wing Hacks You’ll Use
- Wing Tacos: Strip the meat and pile into tortillas with slaw and spicy crema.
- Buffalo Chicken Wrap: Mix with chopped romaine, blue cheese, and ranch in a wrap.
- Crispy Chicken Salad: Toss chopped wings with greens, avocado, and vinaigrette.
Can I freeze baked wings?
Technically, yes, but not recommended if you want to keep that crisp skin. If you do freeze, reheat from frozen in a 425°F oven for 20–25 minutes on a rack.
FAQs
Can I use frozen wings?
Yes, but thaw them completely first. Place them in the fridge overnight or defrost in cold water (sealed). Then pat them dry like your crispiness depends on it because it does.
Do I need a wire rack?
It helps a lot. The rack lifts the wings so hot air can circulate underneath, giving you a full-body crisp. But if you don’t have one, use a parchment-lined tray and flip the wings every 15–20 minutes to avoid soggy bottoms.
What if I don’t have baking powder?
You’ll lose some crisp, but you can still succeed:
- Dry the wings thoroughly
- Use a long chill in the fridge
- Bake a little longer at high heat
Or sub in a mix of cornstarch and salt for a lighter crunch.
Can I make these ahead of time?
Yes, prep and season the wings, then refrigerate unbaked for up to 24 hours. When ready, bake as usual. For cooked leftovers, reheat using the oven or air fryer for the best texture.
Why are my wings still not crispy?
Common culprits:
- Didn’t dry them enough
- Used regular (aluminum-containing) baking powder
- Baked too low or didn’t bake long enough
- Overcrowded the pan
Fix those, and your wings will level up next round.
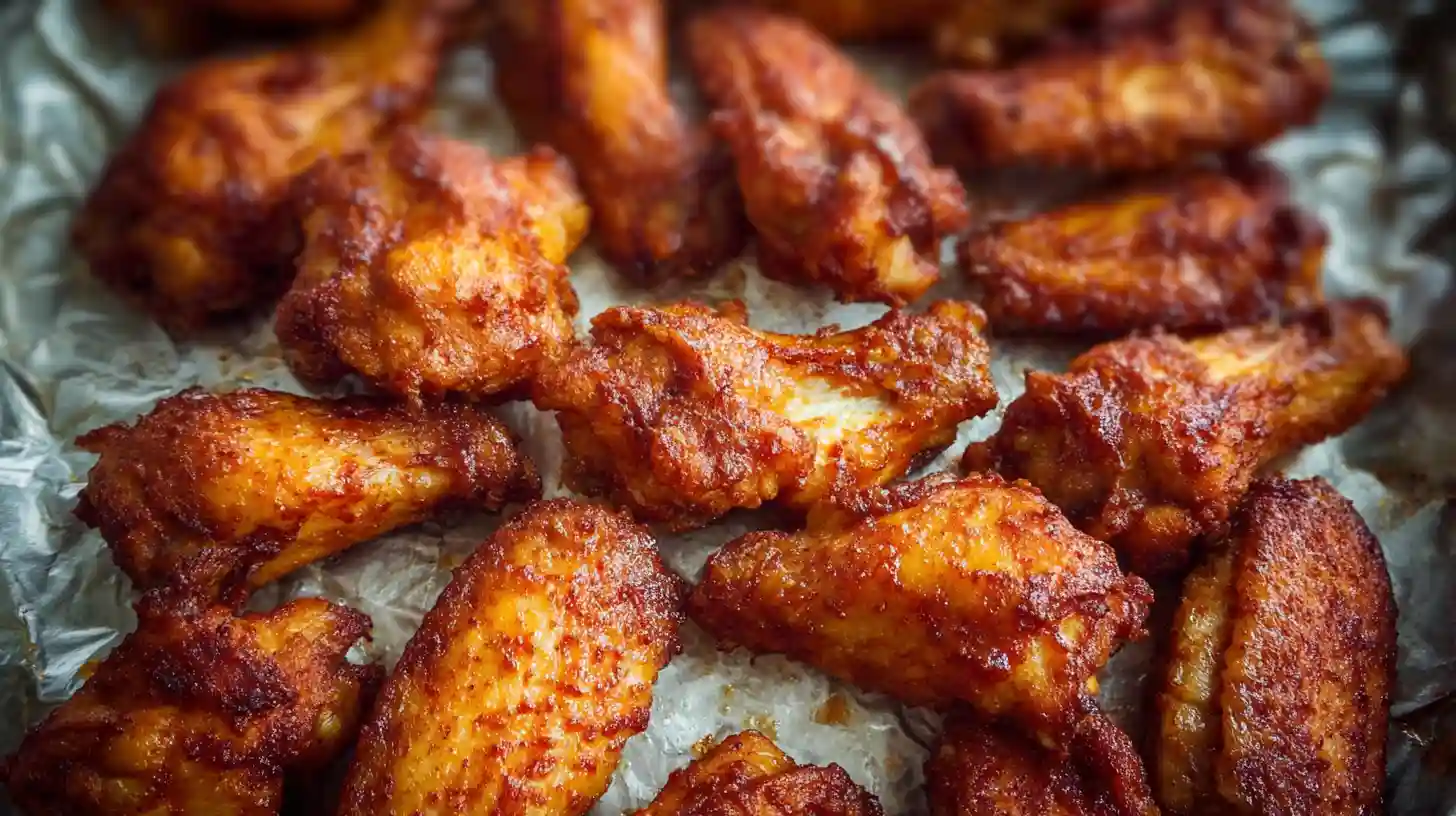
Crispy Oven Baked Chicken Wings
Ingredients
Equipment
Method
- Pat wings dry with paper towels until no surface moisture remains.
- Toss wings with baking powder, salt, pepper, garlic powder, paprika, and onion powder in a large bowl until evenly coated.
- Spread wings on a wire rack over a foil-lined baking sheet. Refrigerate uncovered for 30 minutes to 4 hours (optional but recommended).
- Preheat oven to 425°F (220°C). Arrange wings in a single layer on the rack, leaving space between them.
- Bake for 20 minutes, flip the wings, then continue baking for another 20–30 minutes until golden and internal temperature reaches 180°F.
- Optional: Broil for 1–2 minutes for extra crispiness, watching closely to avoid burning.
- Let wings rest for 2–3 minutes, then toss with your favorite sauce and serve immediately.
Notes
Follow me on Pinterest for more delicious recipes and culinary inspiration – your best source for tasty, shareable food ideas!

