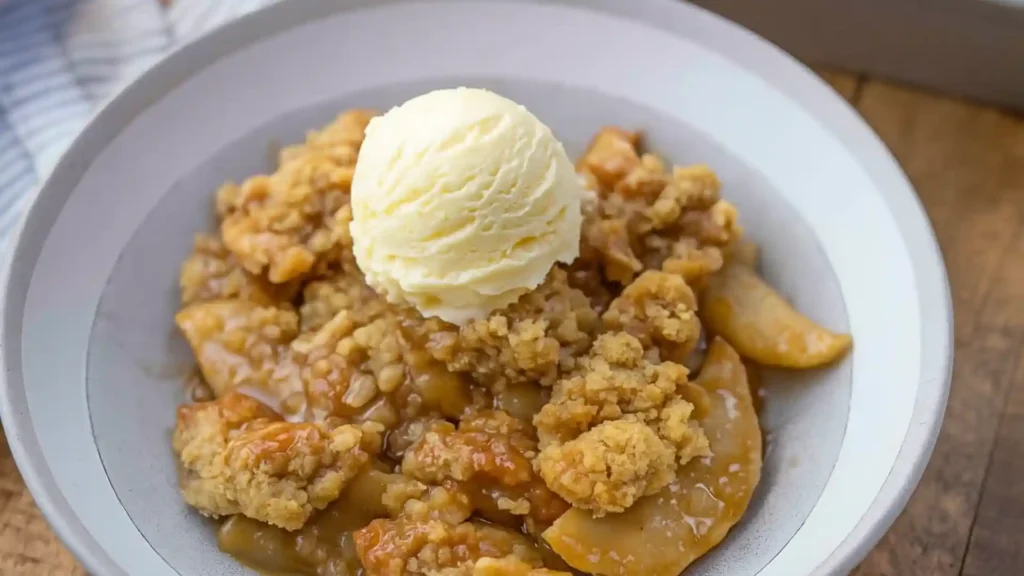
When fall rolls in and apples pile up at the market, most of us aren’t craving a perfectly plated dessert. We want comfort. Something that bubbles, oozes, and crunches all at once. Enter: the ultimate apple crisp.

This isn’t your average crisp. It’s got double the topping, because who eats apple crisp for the apples? It’s that golden, buttery crumble that makes the kitchen smell like cinnamon and childhood. And the apples? They’re not just there for filler, they’re baked into soft, tangy pillows under a crisp that snaps with every bite.
Whether you’re baking for a family dinner, a holiday potluck, or just a Sunday when you need a win, this apple crisp lands every time. No tricky crust. No weird ingredients. Just layers of gooey apple and crispy magic, the kind that turns an ordinary night into something worth remembering.
Why This Apple Crisp Works Every Time
Not every apple crisp earns the title “ultimate.” This one? It does. And not because it’s complicated — in fact, the magic lies in its simplicity. But there’s a deeper reason it keeps showing up on repeat in kitchens: it nails the balance.
Crisp Meets Gooey in Perfect Ratio
The topping isn’t an afterthought, it’s the headline act. By doubling the crisp, you get that dreamy contrast: crackly crumble on top, with pockets of molten brown sugar underneath that seep into the softened apples. No dry granola-like crust here; this one melts, crackles, and clings.
Why Apple Matters
Let’s pause for a second. Ever had a crisp that was… soupy? Or worse, where the apples felt like mushy applesauce? That’s usually a variety mismatch. Granny Smiths bring tang and structure, Honeycrisp adds sweet crunch, and Fuji softens into a delicate bite. Mix two kinds, and you’ll never go back.
TL;DR? The apple isn’t just a filler; it’s the foundation. And you need one that holds up under heat and plays nice with brown sugar.
The Topping Science (Yep, There’s Science)
There’s a reason why this topping “just works.” It’s not just butter + sugar + oats. It’s about ratios.
- Butter gives it richness and moisture (salted butter adds pop).
- Oats add texture.
- Brown sugar caramelizes, pulling those crispy bits just over the edge of toasty.
- Flour binds it without making it cakey.
And when you double it? You get layers of caramelized crunch, not just a dusting.
What Makes an Apple Crisp Turn Out Right?
A few things, actually:
- Use cold butter, not melted — it creates real crumbs, not sludge.
- Don’t skip the lemon juice — it keeps the filling from going flat.
- Bake until the edges bubble and the top is deep golden, not just light brown.
Apple Crisp Ingredients and Topping Variations Explained
You can tell a lot about a dessert by the ingredients it doesn’t try to hide behind. Apple crisp is a no-frills classic and yet, the ingredients you choose make all the difference between “okay” and “where has this been all my life?”
Let’s break it down and layer in a few clever swaps and spins for every kind of baker.
Apples: The Real MVP
Not all apples are created equal, especially when baked. Here’s a quick cheat sheet:
- Granny Smith – Tart, firm, holds shape. Great for cutting richness.
- Honeycrisp – Juicy and sweet, with a crisp bite. Excellent in mixes.
- Fuji or Gala – Sweeter, softer. Adds mellow warmth to the filling.
- Jonagold or Braeburn – Balanced flavor, ideal solo performers.
Pro move: Mix tart and sweet apples for layered flavor. Think Granny Smith + Honeycrisp = chef’s kiss.
The Crisp Topping: Let’s Talk Texture
It’s tempting to eyeball your crumble ingredients, but trust, this ratio has purpose:
- 1 part cold butter (cut into cubes, not melted!)
- 1 part brown sugar
- 1 part oats
- ½ part flour
- Pinch of salt + dash of cinnamon
Want an extra punch? Add:
- Chopped pecans or walnuts for a nutty crunch
- Maple syrup drizzle to the mix (replace part of the sugar)
- Pumpkin pie spice instead of plain cinnamon in the fall
Easy Swaps for Every Diet
- Gluten-free? Use certified gluten-free oats + 1:1 GF flour (like Cup4Cup).
- Vegan? Replace butter with vegan stick butter or cold coconut oil.
- Low sugar? Cut the sugar in half or use coconut sugar for a subtler sweetness.
- Nut-free? Skip the nuts, no problem, oats bring plenty of crunch on their own.
What if I don’t have oats?
You can still crisp. Sub oats with:
- Crushed graham crackers
- Chopped nuts + extra flour
- Crushed cornflakes (weirdly good)
Just don’t skip the butter-sugar-flour base that’s your crispy glue.
How to Make Apple Crisp Step-by-Step (With Double Topping)
This isn’t one of those “blink and you’ve missed it” recipes. It’s simple, but it rewards a little care. If you can slice apples and mix crumble with your fingers (or a fork), you’re there.
Here’s your foolproof roadmap, no soggy bottoms, no guesswork.
1. Preheat and Prep
Set your oven to 350°F (175°C).
Grease a 9×13-inch baking dish with butter or nonstick spray. This helps the edges crisp up and makes cleanup a breeze.
2. Slice the Apples
- Peel and core 6–7 medium apples (mix of tart and sweet).
- Slice them about ¼-inch thick — not paper-thin or too chunky.
- Toss in a large bowl with:
- 2 tablespoons lemon juice
- ¼ cup granulated sugar
- 2 teaspoons cinnamon
- Optional: 1 tablespoon flour or cornstarch (helps absorb juices)
Spread the mixture evenly in your prepared pan.
3. Make the Crisp Topping (Double It!)
In a separate bowl, combine:
- 1 cup cold, cubed butter
- 1 cup brown sugar
- 1 cup rolled oats
- ½ cup all-purpose flour
- 1 teaspoon cinnamon
- ½ teaspoon salt
Use a pastry cutter, two forks, or your hands to blend until the texture is crumbly but sticks when squeezed. Sprinkle it generously over the apples and don’t be shy. We’re doubling the crisp, remember?
4. Bake Until Bubbling and Golden
Pop it into the oven and bake for 45–50 minutes, or until:
- The top is deep golden-brown
- The edges are bubbling with apple syrup
- Your kitchen smells like a pie shop during sweater weather
Let it cool for 10–15 minutes before serving. It’ll firm up slightly and won’t burn your mouth (speaking from experience).
Can I make this in advance?
Absolutely. Assemble it up to 24 hours ahead and store it in the fridge (unbaked). When ready to serve, just bake straight from the fridge, and add 5–10 minutes to the baking time.
Bonus: You can freeze it, too. Just wrap tightly in foil and freeze before baking. Bake from frozen at 350°F, covered for 30 minutes, then uncovered for another 30–35 minutes.
Apple Crisp Make-Ahead, Freezing and Reheating Tips
Apple crisp might be rustic, but let’s be real a little planning can turn it into the easiest dinner-party dessert or weeknight treat. Whether you’re batching it for later, sneaking leftovers, or pulling off a last-minute miracle, here’s how to keep it crispy and delicious every time.

Make It Ahead (Without Losing the Crisp)
You can fully assemble the crisp up to 1 day in advance:
- Prepare the apple filling and topping as usual.
- Store separately (covered in the fridge) or layer them in the baking dish, cover tightly with foil, and chill.
- When you’re ready to bake, remove it straight from the fridge and place it in the oven. Add 5–10 extra minutes of baking time to account for the chill.
Pro tip: For maximum crispness, sprinkle the topping fresh right before baking, rather than storing it on the apples overnight.
Freeze It (Yes, You Can)
This recipe is a freezer champ. You can:
- Freeze unbaked: Assemble the whole dish in a freezer-safe pan, wrap tightly in foil, and freeze.
- Bake directly from frozen: cover for 30 minutes, then uncover and bake another 30–35 minutes until bubbling and golden.
- Freeze baked leftovers: Cool completely, then wrap portions or the full dish. Reheat uncovered at 325°F until warmed through and re-crisped (about 15–20 minutes).
Leftover Magic
Crisp leftovers the next day? Still elite, if you do it right:
- Reheat in the oven at 350°F for 10–15 minutes to revive the topping’s texture.
- Avoid the microwave — it turns the crisp soggy (unless you’re okay with dessert soup… no judgment).
Can I prep the topping and freeze it separately?
Yes! The crisp topping freezes beautifully. Just mix it, portion it into a zip-top bag, and freeze.
When you’ve got apples to use up, you’re only 10 minutes from a warm dessert.
FAQs
Why is my apple crisp topping soft instead of crisp?
Three likely culprits:
- Butter was melted — you want cold butter, cut in with a fork or pastry cutter.
- Not baked long enough — crisp isn’t done until the edges bubble and the top’s deep golden, not pale.
- Topping too thick in spots — spread it evenly across the apples for uniform baking.
My filling turned out watery. Help?
Ah, the dreaded apple soup. Try this:
- Toss the apples with a spoonful of flour or cornstarch before baking — it thickens the juices.
- Use firm apples like Granny Smith or Honeycrisp that don’t break down into mush.
- Let it cool for 10–15 minutes after baking — the filling sets as it rests.
What’s the best way to serve this?
Straight up? Amazing. But for max impact:
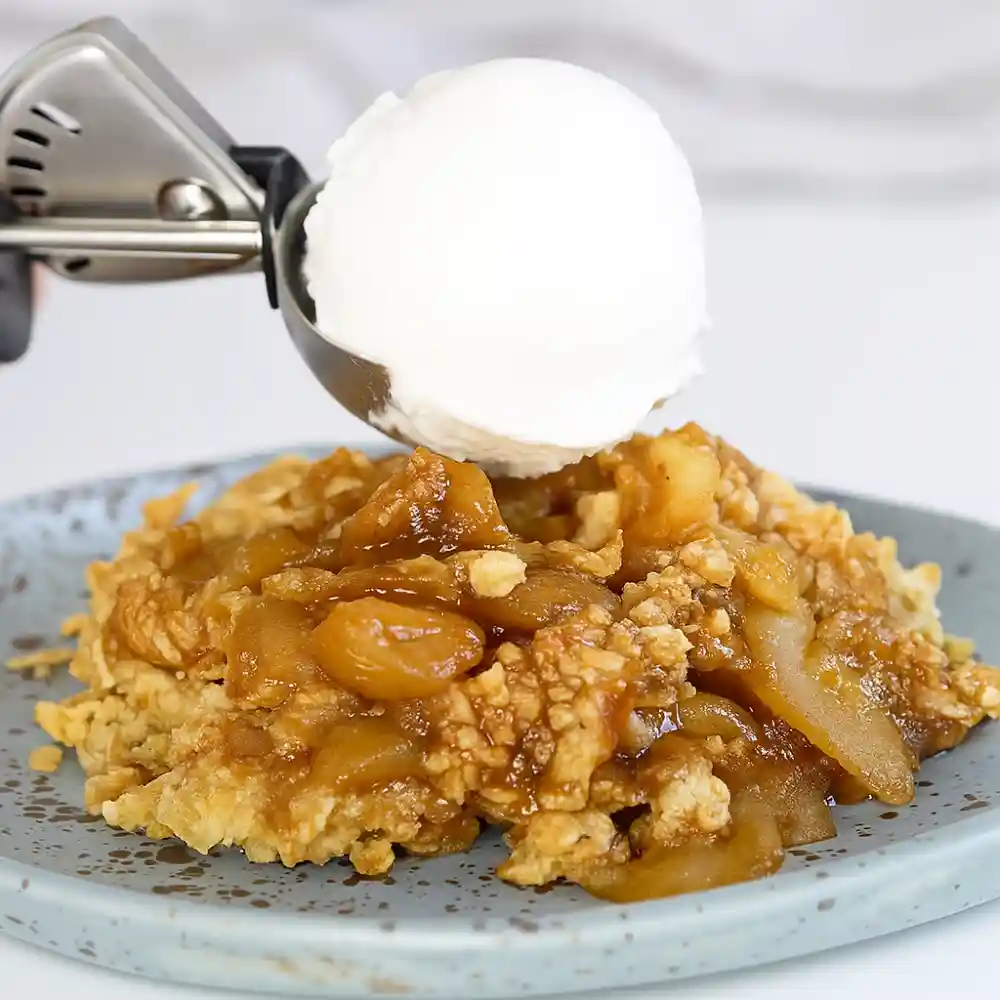
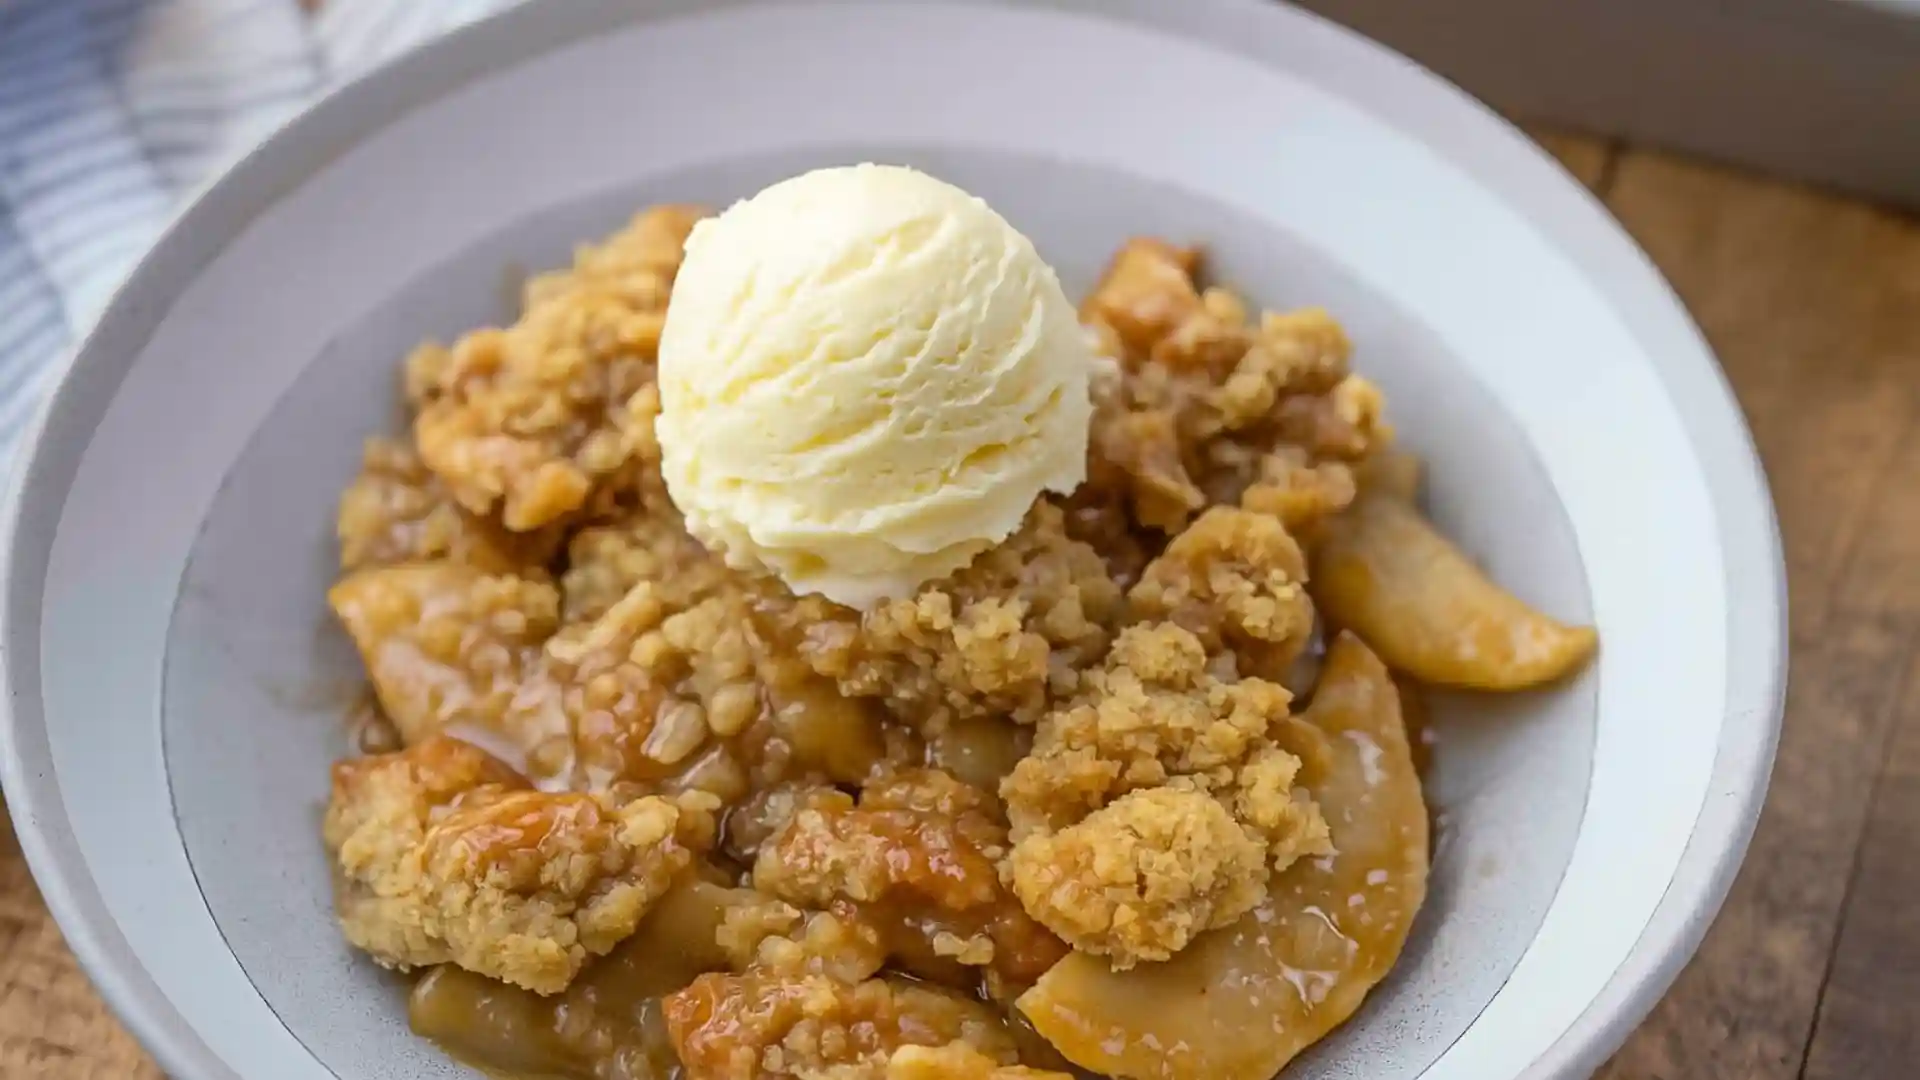
- Scoop warm into bowls
- Top with vanilla ice cream, whipped cream, or even a drizzle of caramel
- Sprinkle with toasted pecans for crunch-on-crunch action
Can I make individual crisps instead of one big dish?
Yes! Just portion the filling and topping into ramekins or small baking dishes. Bake time may shorten to 30–35 minutes. Just look for bubbling edges and browned tops.
Can I use canned apples?
You could… but you’ll lose the firm bite that makes a crisp worth it. If using canned, cut the sugar in half and skip the lemon juice. Bake time may be shorter as well; keep an eye on the topping.
More Crisp and Cobbler Recipes

Ultimate Apple Crisp (Double the Crisp!)
Ingredients
Equipment
Method
- Preheat the oven to 350°F (175°C). Lightly grease a 9×13-inch baking dish.
- In a large bowl, toss sliced apples with lemon juice, sugar, cinnamon, and flour/cornstarch if using. Spread evenly in prepared dish.
- In another bowl, combine butter, brown sugar, oats, flour, cinnamon, and salt. Cut together with a fork or pastry cutter until crumbly and well mixed.
- Sprinkle topping evenly over apples, covering completely.
- Bake for 45–50 minutes, or until topping is golden and the filling is bubbling at the edges. Let cool for at least 15 minutes before serving.
Notes
Follow me on Pinterest for more delicious recipes and culinary inspiration – your best source for tasty, shareable food ideas!


