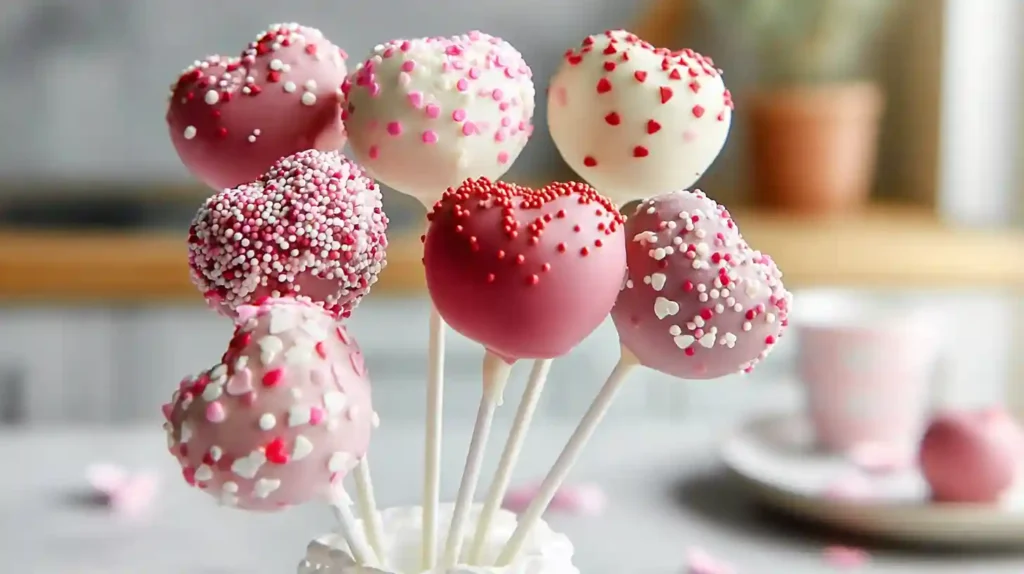
My niece asked me to teach her how to make something special for her school’s Valentine’s Day party. We settled on cake pops, and watching her face light up when she saw the finished results reminded me why this Valentine’s Day Cake Pops Recipe has been my go-to for years.
Cake pops combine everything people love about cake in a fun, portable form. They’re easier than decorated cookies, more impressive than cupcakes, and kids genuinely get excited about helping make them. The best part is you can customize the colors and decorations to fit any Valentine’s theme you have in mind.
This Valentine’s Day Cake Pops Recipe uses simple ingredients you probably already have or can grab at any grocery store. No special equipment required beyond some lollipop sticks and patience while the chocolate sets.
Why This Recipe Works
Starting with boxed cake mix keeps things simple without sacrificing taste. The frosting mixed into crumbled cake creates the perfect texture that holds together when dipped but stays moist inside. I’ve tried making cake pops from scratch, and honestly, the boxed version works just as well with half the effort.
The key is getting the cake-to-frosting ratio right. Too much frosting makes them mushy and impossible to coat smoothly. Too little and they crumble apart. This Valentine’s Day Cake Pops Recipe hits that sweet spot.
Freezing between steps might seem fussy, but it makes the dipping process so much easier. Cold cake balls hold their shape and don’t fall off the sticks.

Gathering Your Ingredients
Keep it simple with these basic supplies that transform into impressive Valentine’s treats.
- 1 box vanilla cake mix with required ingredients (water, oil, eggs)
- 1/3 cup vanilla frosting
- 12 ounces white candy melts
- 12 ounces pink candy melts
- Valentine’s Day sprinkles (hearts, red and pink colors)
- 24-30 lollipop sticks
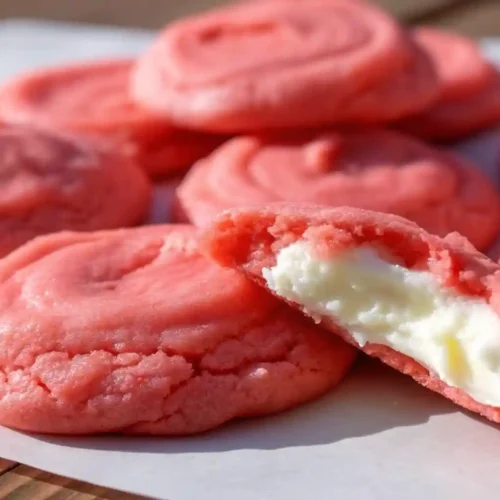
Red velvet or strawberry cake mix works beautifully if you want the inside to match the Valentine’s theme. Chocolate cake with pink coating creates a striking contrast that looks elegant.
Use gel food coloring to tint white candy melts if you can’t find pre-colored ones. Add tiny amounts at a time because gel coloring is concentrated. Regular liquid food coloring makes candy melts seize up and become grainy.
Baking and Prep Work
Prepare your cake following package directions exactly. I bake mine in a 9×13-inch pan because it’s easier to crumble evenly than round layers. The cake needs to cool completely before moving forward, so I usually bake it the night before.
Once cool, break the entire cake into fine crumbs using your hands or a fork. Work it in a large bowl until no big chunks remain. The finer your crumbs, the smoother your finished cake pops will be.
Add frosting one tablespoon at a time, mixing thoroughly between additions. You want the mixture to hold together when squeezed but not feel wet or sticky. Start with 1/4 cup and add more only if needed.
Cover the bowl with plastic wrap and refrigerate for at least one hour. This firms up the mixture and makes rolling so much easier. I often prep this step in the morning and finish the Valentine’s Day Cake Pops Recipe later that day.
Shaping Perfect Balls
Use a cookie scoop to portion out even amounts of the cake mixture. A tablespoon-sized scoop creates pops similar to ping pong balls, which is ideal. Consistent sizing ensures they all cook and set at the same rate.
Roll each portion between your palms until smooth and round. Don’t overwork them or they’ll become dense. Quick, gentle rolls produce the best texture.
Place finished balls on a parchment-lined baking sheet as you work. Once all are shaped, pop the entire tray in the freezer for 30 minutes minimum. This step is non-negotiable if you want clean dipping results.
While balls freeze, set up your dipping station. Melt candy melts in microwave-safe bowls using 30-second intervals, stirring between each. Don’t overheat or they’ll become thick and unusable.
The Dipping Technique
Dip each lollipop stick about half an inch into melted candy coating, then insert it halfway into a frozen cake ball. The coating acts like glue, preventing balls from sliding off during the final dip. Let these set for two minutes.
Hold the stick and submerge the entire ball into melted coating. Don’t swirl it around. Instead, gently spoon coating over any exposed spots, then lift straight up and let excess drip back into the bowl.
Tap the stick gently against the bowl’s edge to remove more excess coating. Rotate slowly as you tap to prevent a thick pool from forming at the bottom. This creates that smooth, professional finish.
Add sprinkles immediately after dipping while the coating is still wet. Work quickly because candy melts set faster than you expect. If coating hardens before you finish decorating, you can drizzle a bit more melted coating on top and add sprinkles to that.
Setting and Display
Stand finished cake pops upright to set. A styrofoam block works perfectly, or poke sticks through an upside-down cardboard box. Some people use floral foam, which also does the job nicely.
Let them sit at room temperature for 15 minutes until coating hardens completely. Don’t rush this by refrigerating unless your kitchen is very warm. Cold can cause condensation that makes the coating look cloudy.
Store this Valentine’s Day Cake Pops Recipe in an airtight container at room temperature for up to three days. Layer them carefully with parchment between rows to prevent sticking. They also refrigerate well for up to one week.
Pro Tips
- Add a teaspoon of vegetable oil to candy melts if they’re too thick for smooth dipping
- Keep melted coating warm during dipping by setting bowl in another bowl of hot water
- Wipe stick bottoms before standing them up to prevent coating from pooling
- Use a toothpick to fix any coating imperfections before it sets
- Let cake cool completely before crumbling or it will turn gummy
Variations
- Use cream cheese frosting instead of vanilla for tangier flavor
- Try red velvet cake with white coating for classic Valentine’s colors
- Add 1/4 teaspoon peppermint extract to coating for mint chocolate pops
- Roll in crushed cookies or graham crackers instead of sprinkles
- Drizzle contrasting colored coating over finished pops for extra decoration
Troubleshooting
- Balls falling off sticks means mixture too dry, add more frosting
- Cracking coating indicates balls weren’t cold enough before dipping
- Lumpy coating means it overheated, start with fresh candy melts
- Sliding coating happens when balls are too warm, refreeze and try again
- Crumbly texture results from not enough frosting in the mixture
Creative Decorating Ideas
Beyond basic sprinkles, you can transform these Valentine’s Day Cake Pops Recipe into true works of art. Drizzle white chocolate over pink coating in thin lines using a fork. The contrast looks striking and professional.
Press small heart-shaped candies into the coating while still wet. Red Hots, conversation hearts, or even mini chocolate chips all work. Just make sure decorations aren’t too heavy or they’ll slide down before coating sets.
Edible glitter or luster dust adds sparkle for special occasions. Brush it on after coating dries completely for the most dramatic effect.
Ingredient Substitutions
- Replace boxed mix with homemade cake if preferred
- Use any frosting flavor, chocolate pairs wonderfully with vanilla cake
- Substitute almond bark for candy melts in a pinch
- White chocolate chips work but won’t set as firm as candy melts
- Paper straws can replace lollipop sticks for eco-friendly option
Packaging as Gifts
Wrap individual pops in clear cellophane bags tied with red ribbon. This keeps them fresh and makes them easy to hand out. You can fit three to five pops standing upright in a small mason jar for a charming presentation.
Arrange them in a shallow box lined with tissue paper, securing sticks with a piece of styrofoam hidden under the tissue. This works beautifully for larger gifts or party centerpieces.
Tag each pop with a small card stock heart that has the recipient’s name. Punch a hole in the card and slide it down the stick for a personalized touch that looks thoughtful.
FAQ
Can I make Valentine’s Day Cake Pops Recipe ahead of time?
Yes, they keep at room temperature in an airtight container for three days or refrigerated for one week. You can also freeze uncoated balls for up to three months and dip them when needed.
Why do my cake pops crack after dipping?
Temperature shock causes cracking. Make sure your cake balls aren’t too cold when dipping, and let them sit at room temperature for five minutes after removing from the freezer. The coating should be warm but not hot.
How do I prevent the coating from being too thick?
Thin candy melts with a teaspoon of vegetable oil or shortening. Stir it in completely before dipping. Never add water or the coating will seize and become grainy.
Can I use chocolate chips instead of candy melts?
Chocolate chips need to be tempered to set properly and can be tricky to work with. Candy melts are specifically formulated to melt smoothly and harden quickly without tempering, making them much easier for cake pops.
What’s the best way to transport cake pops?
Stand them upright in a styrofoam block inside a shallow box. Cover loosely with plastic wrap, making sure it doesn’t touch the pops. Keep them cool but not cold during transport.
How much frosting should I add to the cake?
Start with 1/4 cup and add one tablespoon at a time until the mixture holds together when squeezed. The exact amount depends on your cake’s moisture level. Too much makes them mushy, too little makes them crumbly.
Can I make these without lollipop sticks?
Absolutely. They become cake balls instead of cake pops. Dip them using a fork to support from underneath, tap off excess coating, and set them on parchment to harden. They’re just as delicious without sticks.
Valentine’s Day Cake Pops Recipe
Ingredients
Equipment
Method
- Prepare cake mix according to package directions. Pour into greased 9×13-inch pan and bake in preheated 350°F oven until toothpick inserted in center comes out clean, about 25 minutes. Let cool completely.
- Crumble cooled cake into fine crumbs in a large bowl using your hands or a fork until no large chunks remain.
- Add vanilla frosting one tablespoon at a time, mixing thoroughly until mixture holds together when squeezed. Start with 1/4 cup total. Mixture should be moist but not wet or sticky.
- Cover bowl with plastic wrap and refrigerate for at least 1 hour to firm up.
- Use a cookie scoop to portion mixture into tablespoon-sized amounts. Roll each portion between palms until smooth and round. Place on parchment-lined baking sheet.
- Freeze shaped balls for 30 minutes minimum until very firm.
- Melt candy melts separately in microwave-safe bowls using 30-second intervals, stirring between each, until completely smooth.
- Dip each lollipop stick about 1/2 inch into melted candy coating, then insert halfway into a frozen cake ball. Let set for 2 minutes.
- Holding the stick, submerge entire ball into melted coating. Lift straight up and let excess drip back into bowl. Tap stick gently against bowl edge to remove more excess, rotating as you tap.
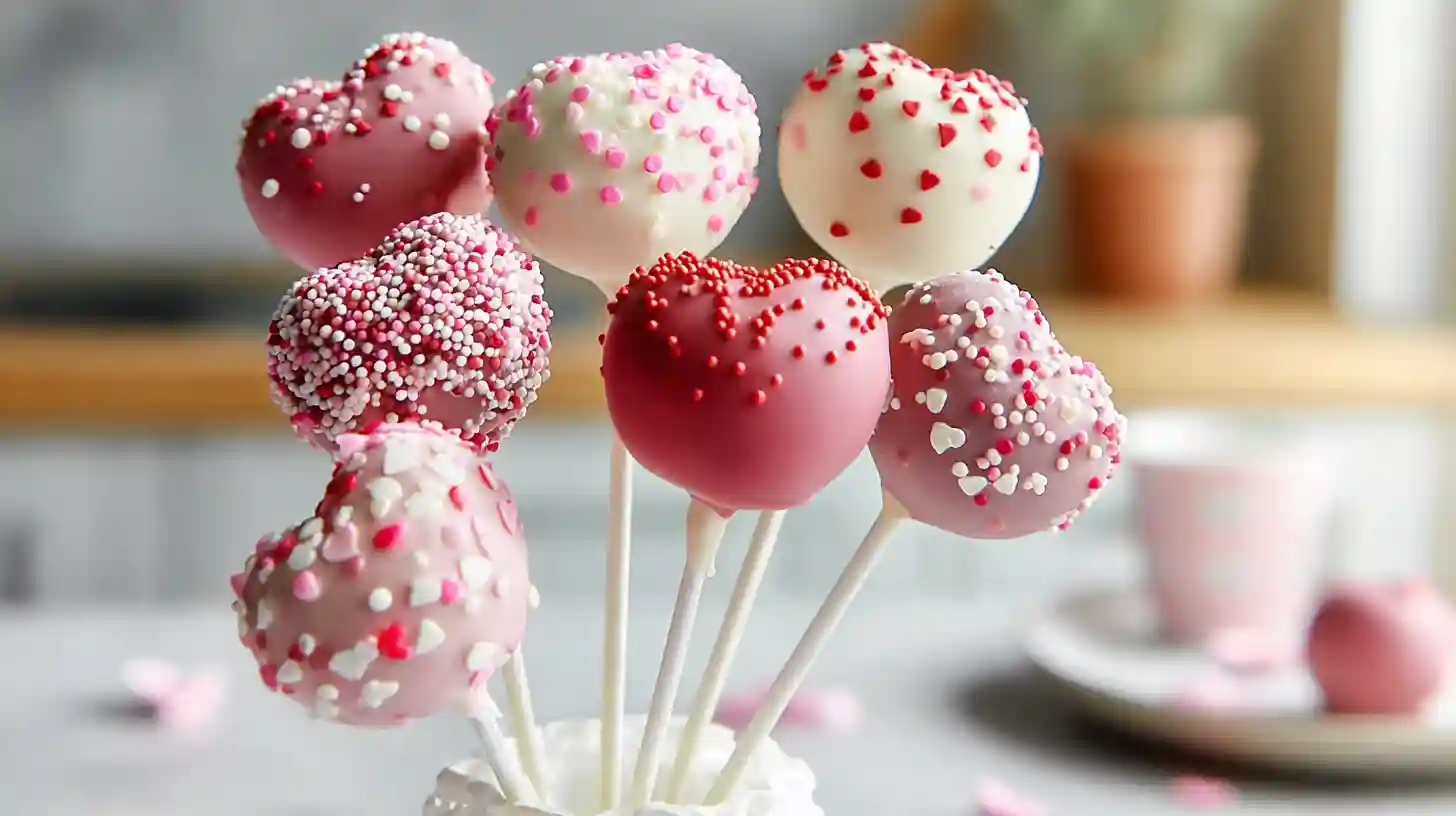
- Immediately add Valentine’s sprinkles while coating is still wet. Stand finished pops upright in styrofoam block or cardboard box to set.
- Let sit at room temperature for 15 minutes until coating hardens completely before serving or storing.
Notes
- Freeze cake balls thoroughly before dipping for best results
- Add 1 teaspoon vegetable oil to candy melts if too thick
- Work quickly when adding sprinkles as coating sets fast
- Store in airtight container at room temperature up to 3 days or refrigerate up to 1 week
- Uncoated cake balls can be frozen up to 3 months
- Red velvet or strawberry cake mix works great for Valentine’s theme