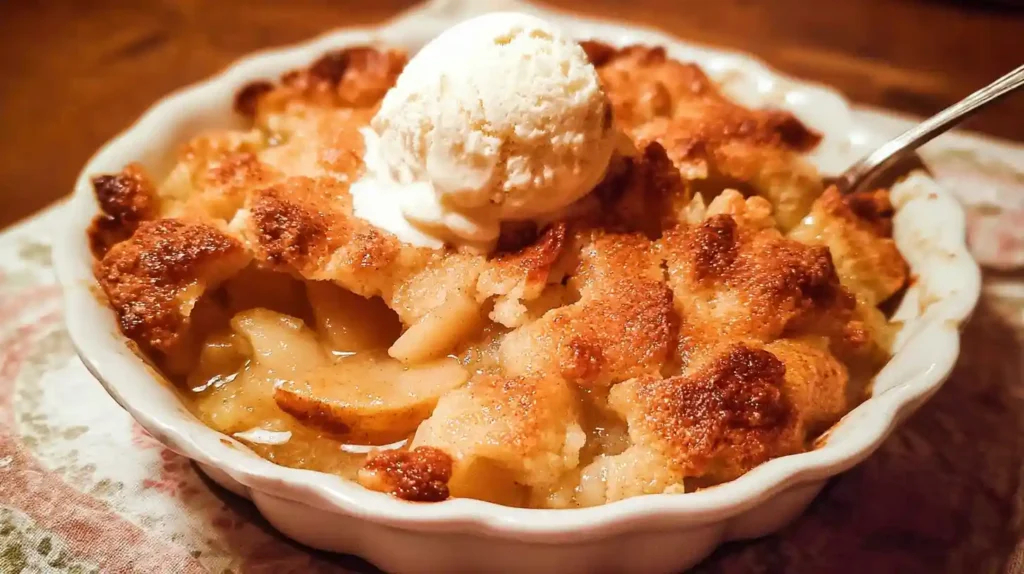
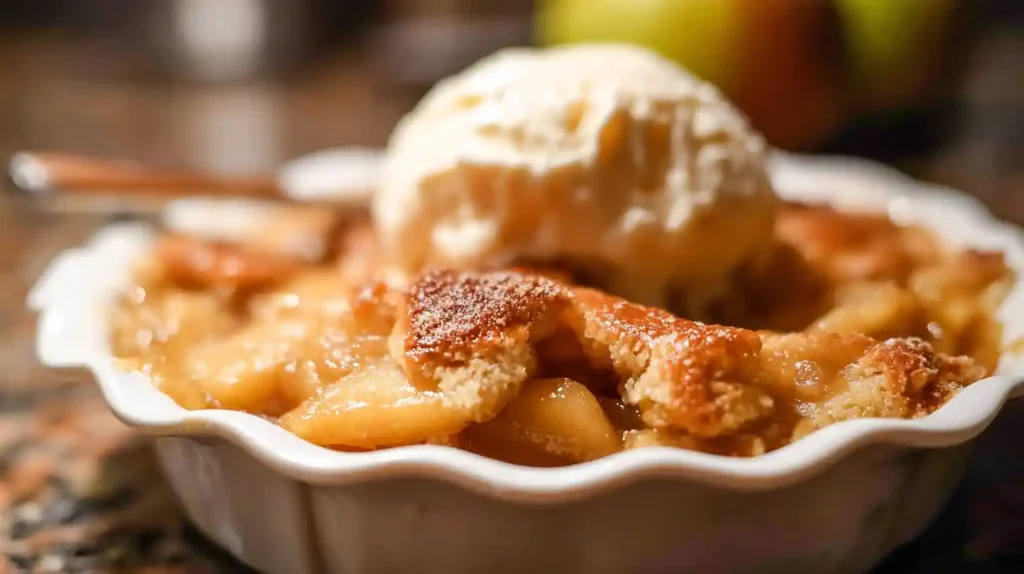
If fall had a signature scent, it would be warm cinnamon drifting from the oven while a bubbling apple cobbler waits inside. This easy apple cobbler recipe takes everything you love about apple pie—the tender spiced fruit, the comforting aroma, and skips the fuss of a bottom crust. Instead, it’s topped with a golden, slightly crisp buttermilk biscuit layer that soaks up just enough of that caramel-like apple filling without losing its soft crumb.

Whether you’ve come home with an orchard haul or just found yourself staring at a grocery bag of apples that need to be used, this recipe turns them into pure comfort. In under 90 minutes, you’ll have a dessert that feels like it took all day without the stress. We’ll walk through two methods: the “flavor-max” version (where the apples get a head start on the stove) and the speedier no-cook method for when dessert needs to happen now.

By the time your cobbler is ready, the top will be puffed and golden, the edges caramelized, and the air will be full of cinnamon. Serve it warm with a scoop of vanilla ice cream, and you’ll understand why this dish has been called apple crisp’s more refined cousin.
Table of contents
What Makes This Easy Apple Cobbler Recipe Special
A good apple cobbler can win hearts. A great one gets you recipe requests for years. This version earns its place in the “great” category for three big reasons: the apple variety blend, the cooked-or-raw flexibility, and the tender buttermilk biscuit topping.
First, the apples. Using just one variety is like playing a song on a single note; it works, but it’s flat. Mixing tart Granny Smiths with sweeter Gala or Honeycrisp creates layers of flavor: bright, tangy edges balanced by mellow sweetness. Each bite feels rounded, not one-dimensional.
Second, the cooking method. If you have the time, cooking the apples on the stove before baking makes a significant difference. You drive off excess moisture, concentrate flavor, and land at that perfect “al dente” texture. But if you’re rushing? The raw method is still delicious and gets you from craving to cobbler in a flash. The trick is adjusting the flour to absorb extra juices—something we’ve fine-tuned for you.
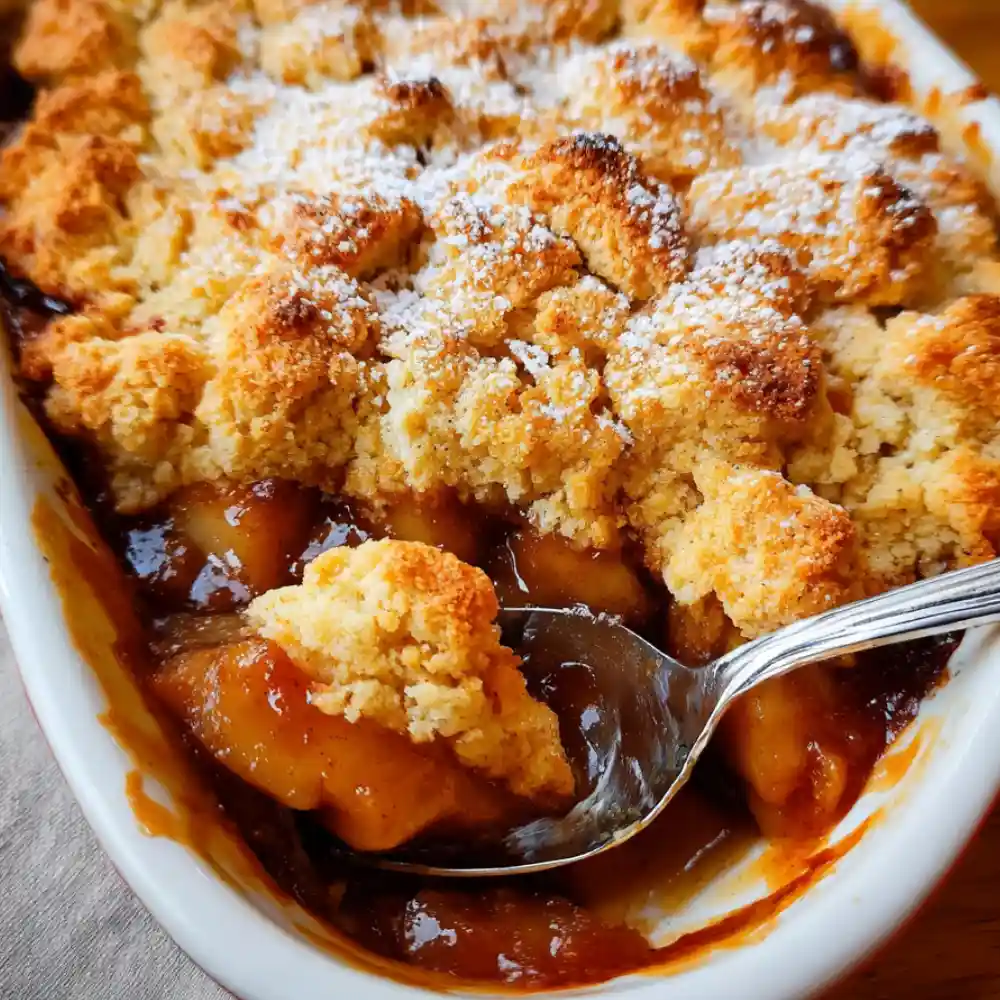
Finally, the topping. It’s part biscuit, part cake, with just enough sugar to lean into dessert territory. Buttermilk adds tang and tenderness, while butter scattered across the top melts into golden crisp edges. It’s rustic without being heavy, and every spoonful has that contrast of soft apple and lightly crisp bite.

Is a cobbler the same as a crisp?
Nope. A crisp has a crumbly streusel topping (often with oats), while a cobbler is crowned with biscuit-like dough that bakes into a puffed, golden layer. Think of a crisp as cozy flannel and a cobbler as that slightly dressier sweater you still curl up in.
Apple Cobbler Ingredients
A great cobbler starts with simple pantry staples and the right apples. Here’s what you’ll need, plus a few swap ideas to make the recipe work with what you have.
For the Apple Filling
- Apples (5 pounds, about 9–11 large) – A mix of Granny Smith, Gala, and Honeycrisp gives the best sweet-tart balance.
- Lemon zest & juice – Brightens the flavor and keeps apples from browning.
- Granulated sugar & brown sugar – White sugar for sweetness, brown sugar for depth and caramel notes.
- All-purpose flour – Thickens the filling; amount depends on whether you pre-cook the apples.
- Cinnamon, nutmeg, cardamom – The spice trio that makes your kitchen smell like fall.
- Kosher salt – A pinch sharpens every flavor.
- Vanilla extract – Adds warmth and rounds out the spice.
For the Biscuit Topping
- All-purpose flour – Forms the base of the topping.
- Granulated sugar – Sweetens the biscuit without overpowering it.
- Kosher salt – Keeps the flavor balanced.
- Baking powder – Helps the topping puff up.
- Buttermilk – Adds tang and tenderness (a quick lemon juice + milk substitute works in a pinch).
- Egg – Binds the dough.
- Cold butter – Creates rich flavor and crisp edges.
- Extra sugar – A sprinkle before baking for that perfect golden crunch.
Optional Swaps:
- Gluten-free: Use a cup-for-cup gluten-free flour blend.
- Dairy-free: Swap buttermilk for almond or oat milk + vinegar; use vegan butter.
- Spiced-up: Add ground ginger or allspice for extra warmth.
What apples work best for cobbler?
Firm, baking-friendly apples like Granny Smith, Honeycrisp, Pink Lady, and Fuji hold their shape in the oven. Mixing tart and sweet varieties gives you a richer flavor than using just one type.
Step-by-Step Instructions for Making Apple Cobbler at Home
Making cobbler is as much about the process as it is about the result. Here’s how to go from a pile of apples to a bubbling, golden dessert in under 90 minutes.
Step 1: Prep the Apples
Peel your apples (about 9–11 large) and slice them thin—aim for about ⅛ inch. Thin slices cook evenly and give you that “just tender” bite instead of half-raw chunks. Toss slices with lemon juice and zest in a large bowl or skillet to prevent browning and add brightness.
Step 2: Choose Your Method — Cooked or Raw
- Cooked method (flavor-max): Add sugars, flour, spices, and salt to the skillet. Stir gently, cover, and cook over medium heat for 20 minutes, stirring every few minutes. Apples should be tender but not mushy. Stir in vanilla.
- Raw method (faster): Place apple slices directly in a 9×13 pan. Add sugars, flour (use ½ cup instead of 5 tablespoons), spices, salt, and vanilla. Toss gently until coated.
Step 3: Make the Biscuit Topping
In a large bowl, whisk together flour, sugar, salt, and baking powder. In another bowl, mix buttermilk and egg. Pour wet into dry and use a pastry cutter (or fork) to “cut in” the liquid until a shaggy dough forms. Dry spots are okay.
Step 4: Assemble and Bake
Spoon or scatter the biscuit dough evenly over the apples. Dot with cold butter pieces and sprinkle with sugar. Bake at 375°F for 45–55 minutes, until the top is golden and the filling is bubbling at the edges. For extra crispness, broil for 1–3 minutes (watch closely).
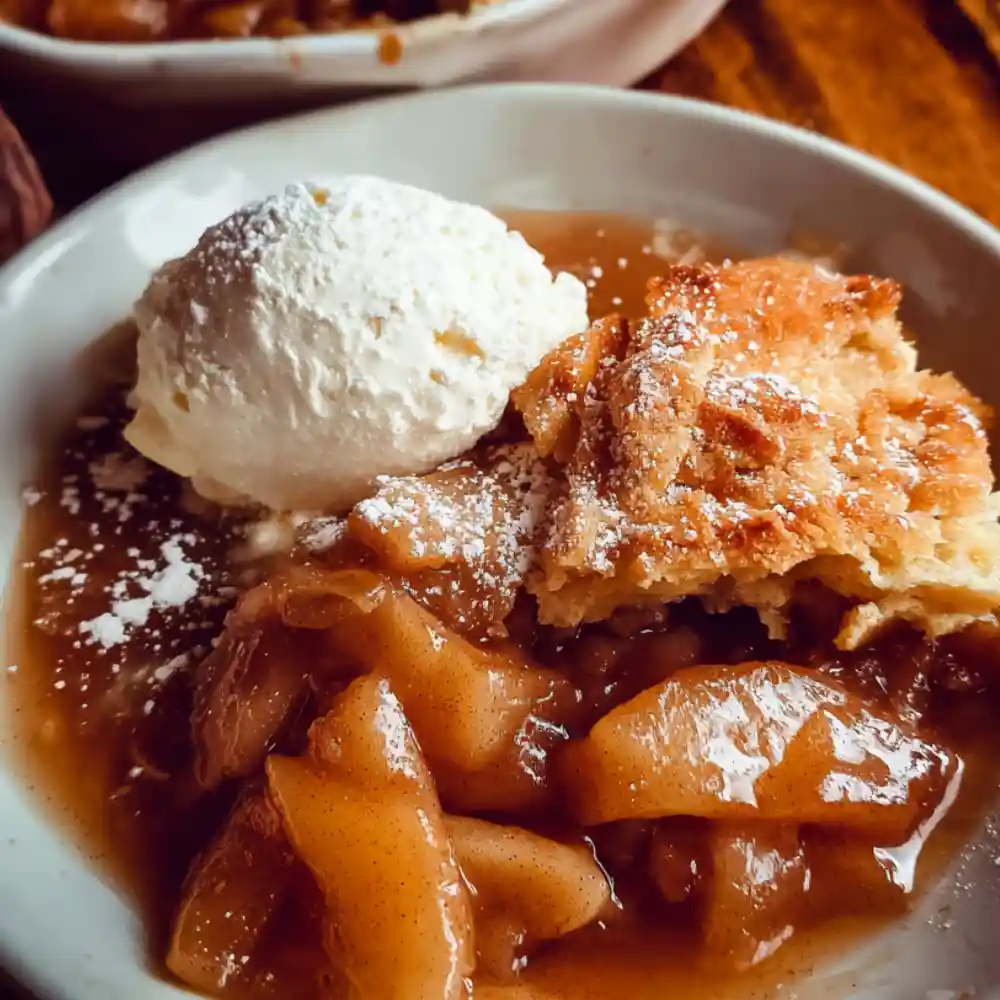
Serving Tip: Let rest for 15 minutes before serving. Top with vanilla ice cream or whipped cream for the ultimate fall dessert.
How do I know it’s done?
The cobbler is ready when the topping is uniformly golden and the filling is bubbling around the edges. If using raw apples, check that the fruit in the center is tender before removing from the oven.
Tips for Baking the Perfect Apple Cobbler
A cobbler is a simple dessert, but there’s an art to getting that tender, spiced filling and perfectly crisp topping. Here’s how to make sure yours turns out bakery-level every time.

Slice Thin for Even Cooking
Thinner slices (about ⅛ inch) cook evenly, whether you choose the cooked or raw method. Thick chunks risk staying firm in the center while overcooking on the edges.
Pick the Right Apples
A mix of tart and sweet apples creates a more complex flavor. Granny Smiths give structure, while Honeycrisp or Gala add natural sweetness. Avoid overly soft apples—they’ll turn mushy.
Pre-Cook for Maximum Flavor
If you have the time, cooking the apples with sugar and spices before baking drives off excess moisture and intensifies flavor. You’ll also get that glossy caramel-like sauce you can’t fake in the oven.
Keep Butter Cold for the Topping
Cold butter melts slowly in the oven, creating pockets of richness and crisp edges in the biscuit topping.
Don’t Skip the Rest
Letting your cobbler rest for 10–15 minutes after baking allows the juices to settle and prevents a watery serving.
Bonus Tip: For day-two leftovers, reheat in the oven at 350°F to revive the crispness—microwaving works, but the topping will be softer.
Why is my cobbler topping soggy?
Moisture from the fruit can seep into the topping as it sits, especially if covered tightly or stored in the fridge. To fix this, reheat uncovered in a moderate oven for a few minutes to re-crisp.
Serving Ideas for Easy Apple Cobbler
Apple cobbler is one of those desserts that almost insists on being served warm, preferably with something creamy and cold to melt into the nooks and crannies.
Classic Pairings
- Vanilla ice cream – The ultimate pairing. The cold cream against the hot, spiced filling is a flavor-and-texture contrast that never gets old.
- Freshly whipped cream – Light and airy, perfect if you want something a little less sweet.
- Caramel drizzle – A little extra decadence for special occasions.
Make It a Dessert Spread
Serving for a crowd? Pair the cobbler with other fall treats: spiced nuts, apple cider, or pumpkin bread. The cobbler’s biscuit topping plays nicely with almost anything autumnal.
Turn Leftovers into Breakfast
Yes, we’re going there. Warm a slice in the oven, skip the ice cream, and serve with plain Greek yogurt or a drizzle of maple syrup. Suddenly, it’s a “rustic fruit bake” and acceptable at 9 a.m.
Can you serve apple cobbler cold?
Absolutely. While most people love it warm, cobbler can be enjoyed cold, straight from the fridge. The topping will soften, but the flavor will still be rich and spiced.
How to Store, Reheat, and Make Apple Cobbler Ahead of Time
One of the perks of apple cobbler is that it keeps its charm for a day or two—though, let’s be honest, it rarely lasts that long.
Short-Term Storage
- Keep the cobbler loosely covered at room temperature for up to 2 days.
- After that, transfer to the fridge for up to 2 more days.
Reheating
- Best method: Warm in a 350°F oven for 10–15 minutes to restore the crisp topping.
- Fast method: Microwave individual servings in short bursts (the topping will be softer).
Make-Ahead Tips
- Cooked apple filling: Make it up to 3 days ahead, store in the fridge, and assemble with fresh topping before baking.
- Freezer-friendly filling: Freeze cooked apple filling for up to 3–4 months in a zip-top bag. Thaw in the fridge before topping and baking.
- Full cobbler freezing (not recommended): The topping will absorb liquid and lose crispness, but you can freeze a baked cobbler for up to 3 months if needed.
Can I assemble apple cobbler ahead of time?
Not fully. The topping will soak up moisture from the apples if it sits too long before baking. If you want to prep in advance, keep the filling and topping separate until you’re ready to bake.
FAQs
Is apple cobbler the same as apple crisp?
No. Apple crisp has a crumbly streusel topping, often with oats that bake into a crunchy layer. Apple cobbler has a biscuit-like topping that puffs up as it bakes, creating a softer, cake-meets-biscuit texture.
What’s the difference between a cobbler and a crumble?
A crumble is like a crisp but without oats or nuts, just flour, butter, and sugar. Cobbler’s leavened biscuit dough sets it apart, giving you that golden, fluffy topping.
Why is my cobbler gooey?
Moisture from the apples can seep into the topping as it sits, especially if covered tightly. Reheating uncovered in the oven helps bring back some crispness.
What are the best apples for cobbler?
Firm baking apples like Granny Smith, Honeycrisp, Pink Lady, and Fuji hold their shape. Use a mix for the best sweet-tart balance.
Can I make apple cobbler gluten-free?
Yes, use a cup-for-cup gluten-free flour blend for both filling and topping. The texture will be slightly different but still delicious.
More Dessert Recipes

Easy Homemade Apple Cobbler (Buttermilk Biscuit Topping)
Ingredients
Equipment
Method
- Step 1: Peel and thinly slice apples. Toss with lemon zest and juice in a large bowl or skillet.
- Step 2 (Cooked method): Add sugars, flour (5 Tbsp), spices, and salt. Stir gently, cover, and cook over medium heat for 20 minutes, stirring occasionally. Stir in vanilla. Transfer to 9×13-inch baking dish.
- Step 2 (Raw method): Place apples in baking dish. Add sugars, flour (1/2 cup), spices, salt, and vanilla. Toss until coated.
- Step 3: Preheat oven to 375°F. In a bowl, whisk flour, sugar, salt, and baking powder. In another bowl, mix buttermilk and egg. Cut wet mixture into dry until shaggy dough forms.
- Step 4: Spread dough over apples. Dot with butter and sprinkle with sugar.
- Step 5: Bake 45–55 minutes until topping is golden and filling is bubbling. Optional: Broil 1–3 minutes for extra crispness.
- Step 6: Rest 15 minutes before serving with ice cream.
Notes
Follow me on Pinterest for more delicious recipes and culinary inspiration – your best source for tasty, shareable food ideas!


