My grandmother used to make banana pudding every Sunday, and I thought nothing could top it until my cousin showed up to a family reunion with this version. She had added fresh strawberries to the mix, and honestly, I almost cried when I tasted it. The combination of sweet strawberries with creamy bananas and that classic vanilla pudding flavor created something completely magical. People kept going back for seconds and thirds, and I had to beg her for the recipe before she left.
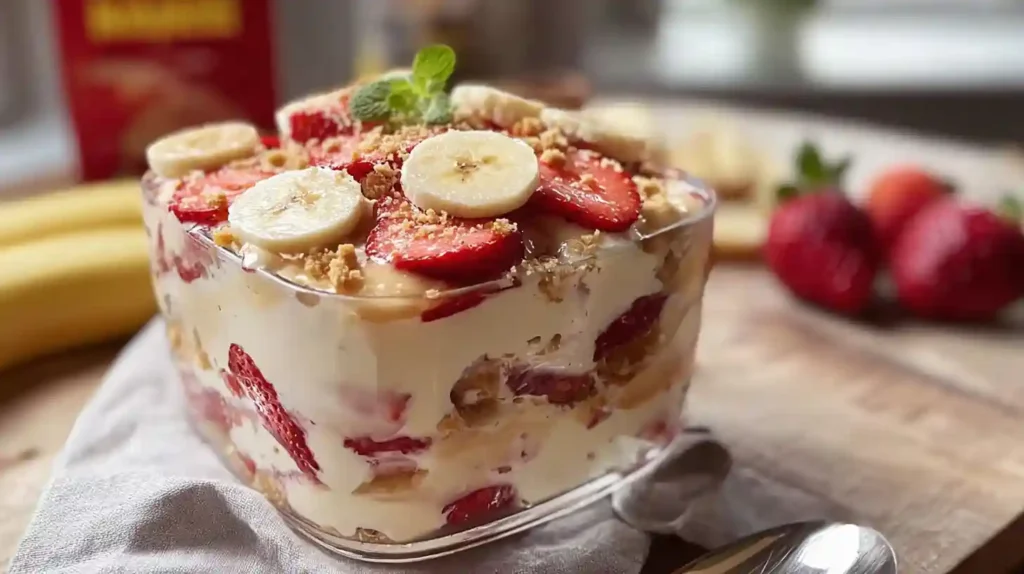
Strawberry Banana Pudding Dream takes the beloved Southern classic and gives it a fruity upgrade that makes it feel fresh and exciting. The best part is how ridiculously easy it is to throw together. No oven required, no fancy techniques, just layering simple ingredients in a dish and letting the refrigerator do the work. Twenty minutes of hands-on time gets you a dessert that looks impressive enough for special occasions but tastes comforting enough for a random Tuesday night.
What Makes This Special
The magic happens when everything sits together in the fridge for a few hours. Those crunchy vanilla wafers soften into cake-like layers, soaking up moisture from the pudding and fruit. The strawberries release their juices slightly, creating these pockets of sweet berry flavor throughout. Meanwhile, the bananas stay creamy and add natural sweetness that balances the tangy cream cheese. Every spoonful gives you a little bit of everything, and it all just works together beautifully.
This dessert feeds a crowd easily and actually tastes better the day after you make it. The flavors meld together overnight, and those wafer layers get even more tender and delicious. Perfect for potlucks, holiday gatherings, or whenever you need to bring something that will disappear fast.
What You Need
- 2 boxes vanilla wafers, about 22 ounces total
- 6 to 8 ripe bananas, sliced into rounds
- 2 cups whole milk, cold
- 1 container fresh strawberries, about 1 pound, hulled and sliced
- 1 box (5 ounce) French vanilla instant pudding mix
- 1 package (8 ounce) cream cheese, softened to room temperature
- 1 can (14 ounce) sweetened condensed milk
- 1 container (12 ounce) whipped topping, thawed if frozen
Making It Happen
Mix the Creamy Base
Start by getting your cream cheese to room temperature if you forgot to take it out earlier. Pop it in the microwave for 15 seconds at a time until it softens up. In a large mixing bowl, combine the softened cream cheese and sweetened condensed milk. Beat them together with a hand mixer on medium speed until the mixture is completely smooth with no lumps. This takes about 2 to 3 minutes, and you want to make sure those ingredients blend perfectly because lumpy pudding is nobody’s friend.
Add the Pudding
Pour the cold milk into your cream cheese mixture, then sprinkle the French vanilla pudding mix over the top. Beat everything together on medium speed until the pudding thickens, which happens pretty quickly with instant pudding. Keep mixing for about 2 minutes until you have a thick, creamy consistency. The mixture should coat the back of a spoon nicely. Set this aside while you prep your fruit.
Prep Your Fruit
Slice your bananas into rounds about a quarter inch thick. Try to keep them fairly uniform so they layer evenly. Hull your strawberries by cutting off the green tops, then slice them into thin pieces. You want them thin enough that they lay flat but thick enough that they hold their shape. If your strawberries are really large, cut them into quarters instead of slices.
Build the Layers
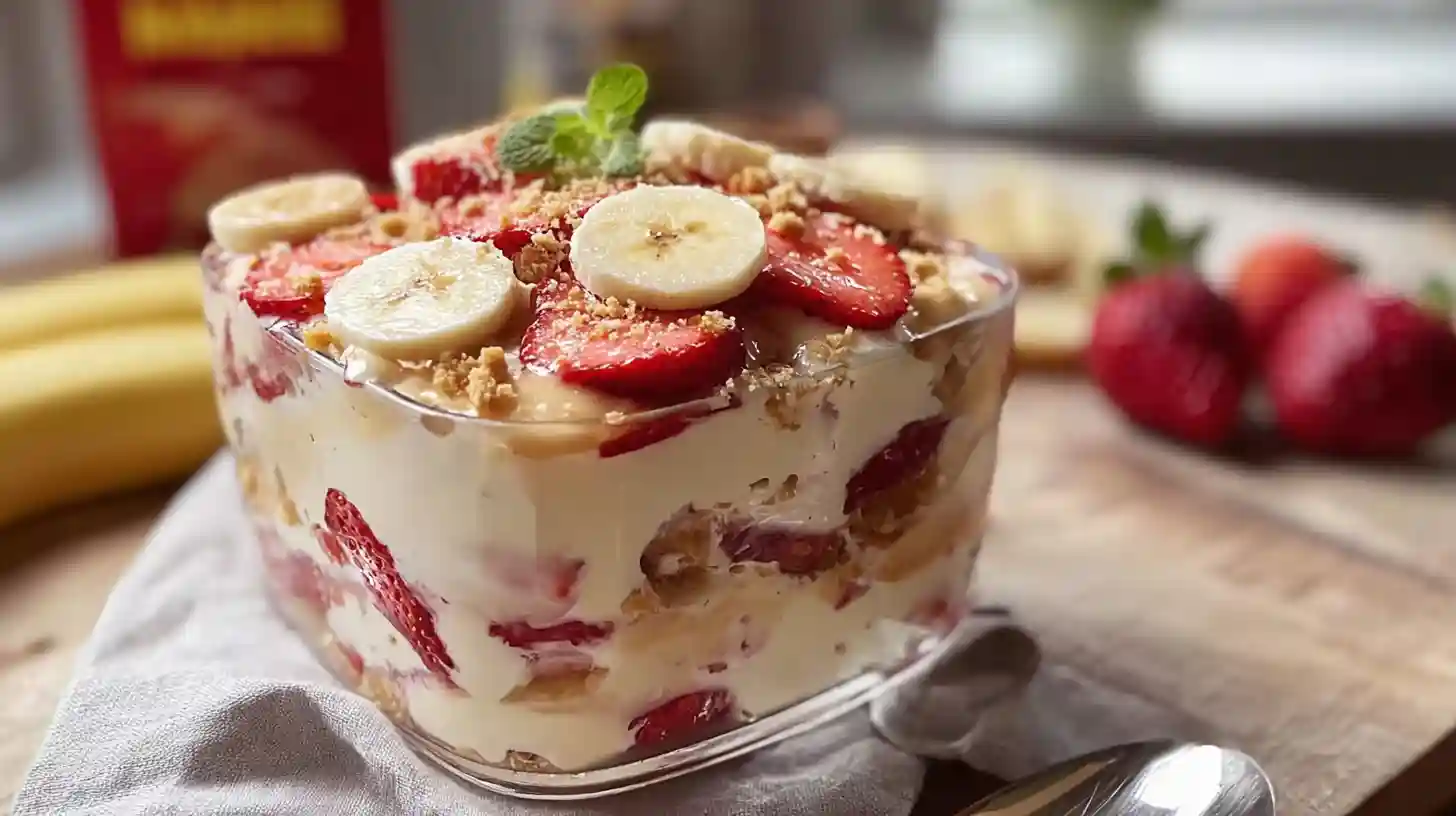
Grab a large glass serving dish or trifle bowl so everyone can see those gorgeous layers. Start by arranging a single layer of vanilla wafers across the bottom of your dish. They can overlap slightly, but try to cover the bottom completely. Next, spread about a third of your pudding mixture over the wafers, smoothing it out with a spatula. Arrange half of your banana slices over the pudding, then add half of your strawberry slices on top of the bananas.
Repeat and Finish
Add another layer of vanilla wafers on top of your fruit, then spread another third of the pudding mixture over them. Layer on the remaining bananas and strawberries. Top with a final layer of wafers, then spread the last of your pudding over everything. The final touch is spreading the whipped topping over the entire surface in a thick, fluffy layer. Make sure to spread it all the way to the edges to seal everything in.
Cover your dish tightly with plastic wrap and refrigerate for at least 4 hours. Overnight is even better if you can wait that long. The chilling time lets the wafers soften, the flavors blend, and everything set up properly. When you are ready to serve, you can garnish with extra strawberry slices or whole berries if you want it to look extra fancy.
Expert Tips
- Use bananas that are ripe but still firm, not mushy or overly spotted
- Make sure your cream cheese is truly soft before mixing or you will get lumps
- Cold milk helps the pudding set up faster and gives you better texture
- Do not skip the chilling time because the wafers need hours to soften properly
- Slice your fruit just before assembling so the bananas do not turn brown
- Press plastic wrap directly onto the surface if storing to prevent browning
Fun Variations
Switch up the pudding flavor by using banana cream or cheesecake instant pudding instead of French vanilla. Both work beautifully with the fruit. For a chocolate twist, add a layer of chocolate pudding between the vanilla layers or use chocolate graham crackers instead of some of the vanilla wafers.
Make it extra decadent by drizzling strawberry or caramel sauce between the layers. A handful of chopped pecans or walnuts sprinkled in adds nice crunch and flavor contrast. During summer, swap half the strawberries for fresh blueberries or blackberries for a mixed berry version. For special occasions, fold some mini chocolate chips into the whipped topping before spreading it on top.
Troubleshooting
If your pudding mixture turns out runny, you probably did not beat it long enough or your milk was not cold enough. Beat it for an extra minute or two and it should thicken up. If it stays runny, pop the whole mixing bowl in the fridge for 30 minutes before layering.
Bananas turning brown is a common issue. Toss your banana slices with a little lemon juice before layering to prevent oxidation. The acidity also adds a nice bright flavor. If the top layer of pudding or whipped cream develops condensation, gently blot it with a paper towel before serving. Store leftovers with plastic wrap pressed directly onto the surface to minimize exposure to air.
Smart Swaps
- Use reduced-fat cream cheese and sugar-free pudding mix for a lighter version
- Swap regular whipped topping for homemade whipped cream for richer flavor
- Try almond milk or oat milk instead of regular milk for dairy-sensitive guests
- Replace vanilla wafers with graham crackers or shortbread cookies
- Use frozen strawberries that have been thawed and drained if fresh are not available
- Coconut cream makes a delicious dairy-free alternative to regular whipped topping
Storage Tips
This dessert keeps beautifully in the refrigerator for up to 3 days when covered tightly. The texture actually improves as it sits, with the wafers getting softer and the flavors melding together. Keep it covered with plastic wrap pressed directly against the surface to prevent the bananas from browning and the whipped topping from drying out.
Freezing is not recommended because the bananas and whipped topping do not thaw well. The fruit becomes mushy and releases too much water, making the whole thing watery and unappetizing. If you must freeze it, do so without the fruit and add fresh sliced bananas and strawberries after thawing. Individual servings hold up better in the fridge than a large dish, so consider portioning it into cups if making ahead for a party.
Frequently Asked Questions
Can I make Strawberry Banana Pudding Dream ahead of time?
Absolutely, and it actually tastes better when made ahead. Prepare it the night before your event and let it chill overnight. The flavors develop and the wafers soften to the perfect cake-like texture. Just wait to add any garnishes until right before serving.
How do I keep the bananas from turning brown?
Toss the banana slices with a tablespoon of lemon juice or pineapple juice before layering. The citric acid prevents oxidation without adding noticeable flavor. You can also press plastic wrap directly onto the surface of the dessert to minimize air exposure.
Can I use homemade pudding instead of instant?
You can, but you need to let homemade pudding cool completely before mixing it with the cream cheese mixture. Warm pudding will melt everything and create a soupy mess. Instant pudding is honestly easier and gives you perfect results every time for this recipe.
What size dish should I use?
A 9×13 inch baking dish or a large trifle bowl works perfectly for this recipe. If using a trifle bowl, choose one that holds at least 3 quarts so you have enough room for all those beautiful layers. Individual serving cups or mason jars also work great for parties.
Can I make this gluten-free?
Yes, just swap the vanilla wafers for gluten-free vanilla cookies or graham crackers. Check that your pudding mix is gluten-free as most brands are, but always verify the label. The rest of the ingredients are naturally gluten-free.
Strawberry Banana Pudding Dream
Ingredients
Equipment
Method
- In a large mixing bowl, combine the softened cream cheese and sweetened condensed milk. Beat with a hand mixer on medium speed for 2 to 3 minutes until completely smooth with no lumps.
- Add the cold milk and French vanilla pudding mix to the cream cheese mixture. Beat on medium speed for about 2 minutes until the pudding thickens and becomes creamy. Set aside.
- Slice the bananas into quarter-inch rounds. Hull and slice the strawberries into thin pieces.
- In a large serving dish or trifle bowl, arrange a layer of vanilla wafers across the bottom, covering it completely.
- Spread about one-third of the pudding mixture over the wafers, smoothing with a spatula.
- Layer half of the banana slices over the pudding, then add half of the strawberry slices on top.
- Add another layer of vanilla wafers, followed by another third of the pudding mixture.
- Add the remaining bananas and strawberries, then top with a final layer of vanilla wafers.
- Spread the remaining pudding mixture over the wafers, then top with the entire container of whipped topping, spreading it to the edges.
- Cover tightly with plastic wrap and refrigerate for at least 4 hours, or overnight for best results.
- Serve chilled, garnished with extra strawberry slices if desired.
Notes
- Use ripe but firm bananas for best texture
- Toss banana slices with lemon juice to prevent browning
- Make sure cream cheese is fully softened before mixing
- This dessert tastes better the next day as flavors meld together
- Store covered in refrigerator for up to 3 days
- Do not freeze as bananas and whipped topping do not thaw well